How to Personalise Wedding Photo Prints Beautifully
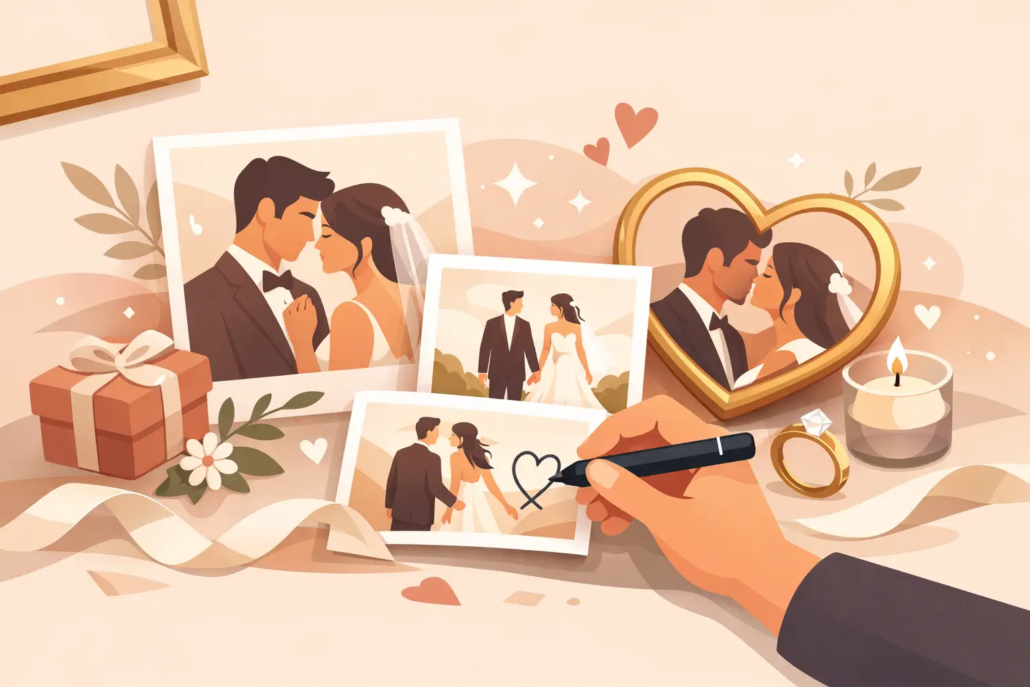
The best wedding favours are not the ones guests politely take home. They are the ones that end up on a fridge, pinned above a desk or tucked into a memory box years later. Knowing how to personalise wedding photo prints turns a fun moment on the dance floor into a proper keepsake – one that looks unmistakably like your day.
A personalised print should feel polished without becoming over-designed. It needs to suit your venue, reflect your personalities and leave enough room for the real stars: your guests laughing, posing and making memories. From the wording and colours to the print layout and interactive details, a little thought goes a very long way.
Start with the feeling you want guests to take home
Before choosing fonts or adding your names, decide what you want the print to say about the celebration. A black-tie city wedding may call for crisp typography, a refined monochrome palette and a sleek border. A relaxed barn celebration might suit soft florals, warm neutrals or a playful hand-drawn look. For a bold party wedding, bright colour, disco-inspired details and a punchy message can be exactly right.
Your wedding stationery is a useful starting point, but it does not have to dictate every decision. Matching the invitation suite closely creates a beautifully coordinated look. Taking one element from it – perhaps the signature colour, a flower, a monogram or the style of lettering – gives you more freedom while still making everything feel connected.
Think about where guests will see the print after the wedding, too. The clearest designs tend to have the longest life. A small logo, a tasteful date and your names will still feel lovely in five years. Too many tiny decorative details can make a 6×4 print look busy, particularly once the photographs themselves are full of energy.
How to personalise wedding photo prints without overdoing it
The most successful designs balance personal details with breathing room. Guests should recognise the wedding immediately, but their faces should remain the focus. Pick two or three elements that matter most and let them do the work.
Choose wording that sounds like you
Names and a wedding date are classics for good reason, but there is plenty of room to make the wording personal. You might use a line from your vows, a favourite saying, a short thank-you or a light-hearted phrase that captures the atmosphere of the evening.
For example, an elegant celebration might use “The Wedding of Aoife & James, 14 June 2026”. A more relaxed couple could go with “Best day ever – thanks for celebrating with us!” If your guests know you for your humour, a line such as “Proof we all made it to the dance floor” adds instant character.
Keep it short. Prints are small, and a message that needs squinting at will lose its impact. It is also worth checking that the language suits every guest who may use the photo experience, from grandparents to your most enthusiastic friends after midnight.
Use colours that work in photographs
A print template can look gorgeous on a screen yet feel quite different when it surrounds a colourful, flash-lit photograph. Dark frames can be dramatic, but ensure text is bright enough to read. Pale colours are fresh and romantic, although very light lettering may disappear against a bright image.
For most weddings, one main colour, one accent colour and a neutral background are more than enough. Navy and ivory, sage and cream, blush and gold, or black and white all photograph beautifully. If you are planning a themed wedding, bring that personality in through a subtle border or graphic rather than filling every corner with colour.
A seasoned photo booth supplier should be able to show you a visual proof before the event. Take the time to view it on a phone and, where possible, as a printed sample. This is the easiest way to spot lettering that is too small, a border that is too thick or colours that need a little more contrast.
Pick a layout that suits the guest experience
Layout is not merely a design choice. It changes how guests pose and how they use the final print. A single large photograph feels modern and gives groups plenty of room to shine. A three-photo strip brings a classic booth feel and naturally encourages sillier poses. A four-image design creates a mini story of the moment, from the first smile to the final dramatic pose.
There is no single right answer. If your guest list includes lots of families and older relatives, a larger image can make the print easier to enjoy and display. If your crowd loves props and spontaneous photos, multiple shots offer more chances for personality. Consider how your booth will be positioned, too: a full-length mirror photo booth is particularly brilliant for capturing outfits, group poses and all the glamour of the occasion.
Make the print part of the wedding, not an afterthought
Personalised photo prints work best when they are woven into the wider celebration. Place the photo experience where it feels inviting, rather than hiding it in a quiet corner. Near the dance floor or evening reception area is often ideal, as guests can dip in and out all night without missing the action.
Your props can echo the print design as well. If the template has a modern black-and-gold style, choose props with a little sparkle rather than a random mixture. If the wedding has a rustic feel, floral signs and warm-toned accessories can complement it beautifully. The goal is not perfection at every turn – it is creating one exciting, cohesive moment that feels made for your celebration.
A guest book adds another layer of meaning. With instant prints, guests can attach a copy beside a handwritten message, leaving you with the kind of warm, funny and occasionally cheeky notes that bring the evening rushing back. Digital galleries are fantastic, but there is something special about having a physical album of real reactions to look through on anniversaries.
Add interactive details guests will actually enjoy
The strongest personalisation is not always printed on the border. It can happen in the moment. A touchscreen mirror that invites guests to sign their photo, add a message or follow colourful on-screen prompts turns a quick snap into entertainment. It also creates images that feel more spontaneous than a posed photograph taken against a plain backdrop.
At The Selfie Mirror Galway, custom print designs can be paired with an interactive mirror experience, instant 6×4 prints, premium props and an attendant who keeps the energy high and the queue moving. That matters at a wedding: nobody wants to spend the evening troubleshooting equipment or explaining how a booth works when they could be celebrating.
You can also make the template work harder by planning for copies. One print goes home with the guest; another can go in the guest book. This small choice gives everyone an immediate memento while ensuring you do not miss out on any of the photographs yourself.
Avoid the common print-design mistakes
Personalisation should make photo prints more meaningful, not harder to read or less flattering. Avoid placing wording over the photo area, especially near faces. Leave a safe zone around the image so that no important part of the photograph is covered by text or graphics.
Be cautious with trends that may date quickly. A playful phrase is wonderful if it genuinely sounds like you, but a fleeting social-media reference can feel less charming later. Likewise, use decorative fonts sparingly. One statement font paired with a simple, readable typeface usually looks far more premium than three competing styles.
Finally, do not leave the design until the final week. Your stationery, flowers and styling may evolve as the wedding comes together, and you will want enough time to make a considered choice. Confirm your final names, date, colours and wording well before the event, then let your supplier handle the practical details.
Let your guests create the finishing touch
Your wedding photo prints do not need to carry the entire story of the day. Their job is to frame the moment – the laughter, the oversized glasses, the grandparents joining in, the bridesmaids striking a pose and the friends who somehow never leave the dance floor.
Choose a design that feels like you, give guests a fun reason to step in front of the camera, and let the photographs become part of the celebration. Long after the last song, those little prints will still be doing what they did best: bringing everyone back to a brilliant night.


Leave a Reply
Want to join the discussion?Feel free to contribute!